Only the Apps installed will be shown - so you may not have all the following Apps on your site/s. Installation/enabling of Apps is managed through the tab under Navigation
Notifications
Notifications can be set up to provide urgent or information notes to citizens based on conditions
Page Builder
On the page builder app management page you can create your own custom pages
Calendars
Calendar integrations can be used to provide online bookings
Services List
On the Services List page you can categorise your services, create external services and manage how citizens can search for services.
My Accounts
On this page you can select from the drop down menu which form to use for account sign up, where My Accounts have been set up.

When a form is selected you can select the X at the end of the field to remove it as the designated sign up form.
To enable a promotional page on the My Accounts widget, check the corresponding checkbox, then enter the HTML code you would like on this promotional page in the box provided.
top of page
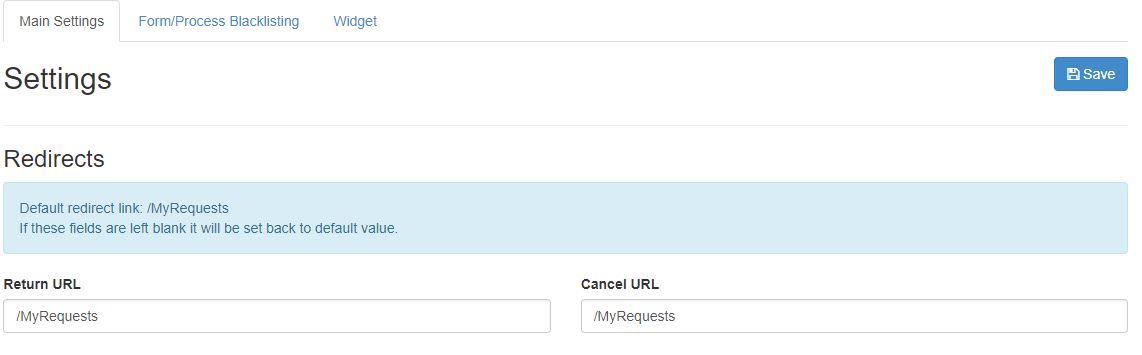
My Requests - Main Settings
- On this page you can specify where the user is redirected to when submitting or cancelling a form when in My Requests. The default link returns the user to My Requests, to redirect to another page of the site specify the path of the page starting with a forward slash, i.e. to redirect to the FAQs app, enter ‘/FAQs’.
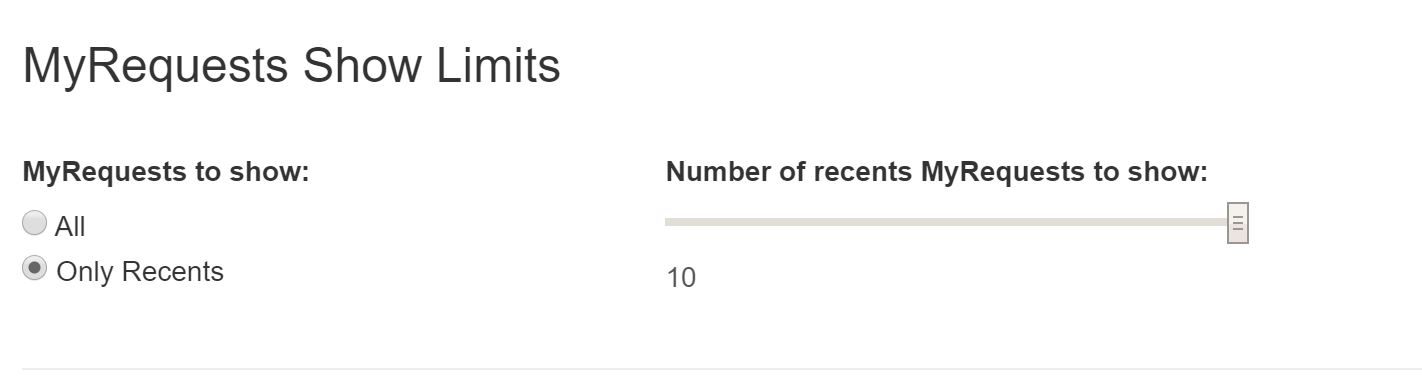
- My Requests Show Limits - here you can either have all My Request forms or limit it to ten. (Slider only appears if change from All to Only Recents)
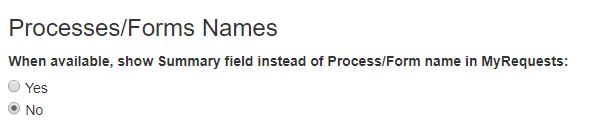
- Process/Form Names - you can decide that the summary field of the form rather than the form name itself displays in My Requests.
- Can define whether case status and Current Stage are shown to Citizen in My requests and for OAF see below

Form Process Blacklisting
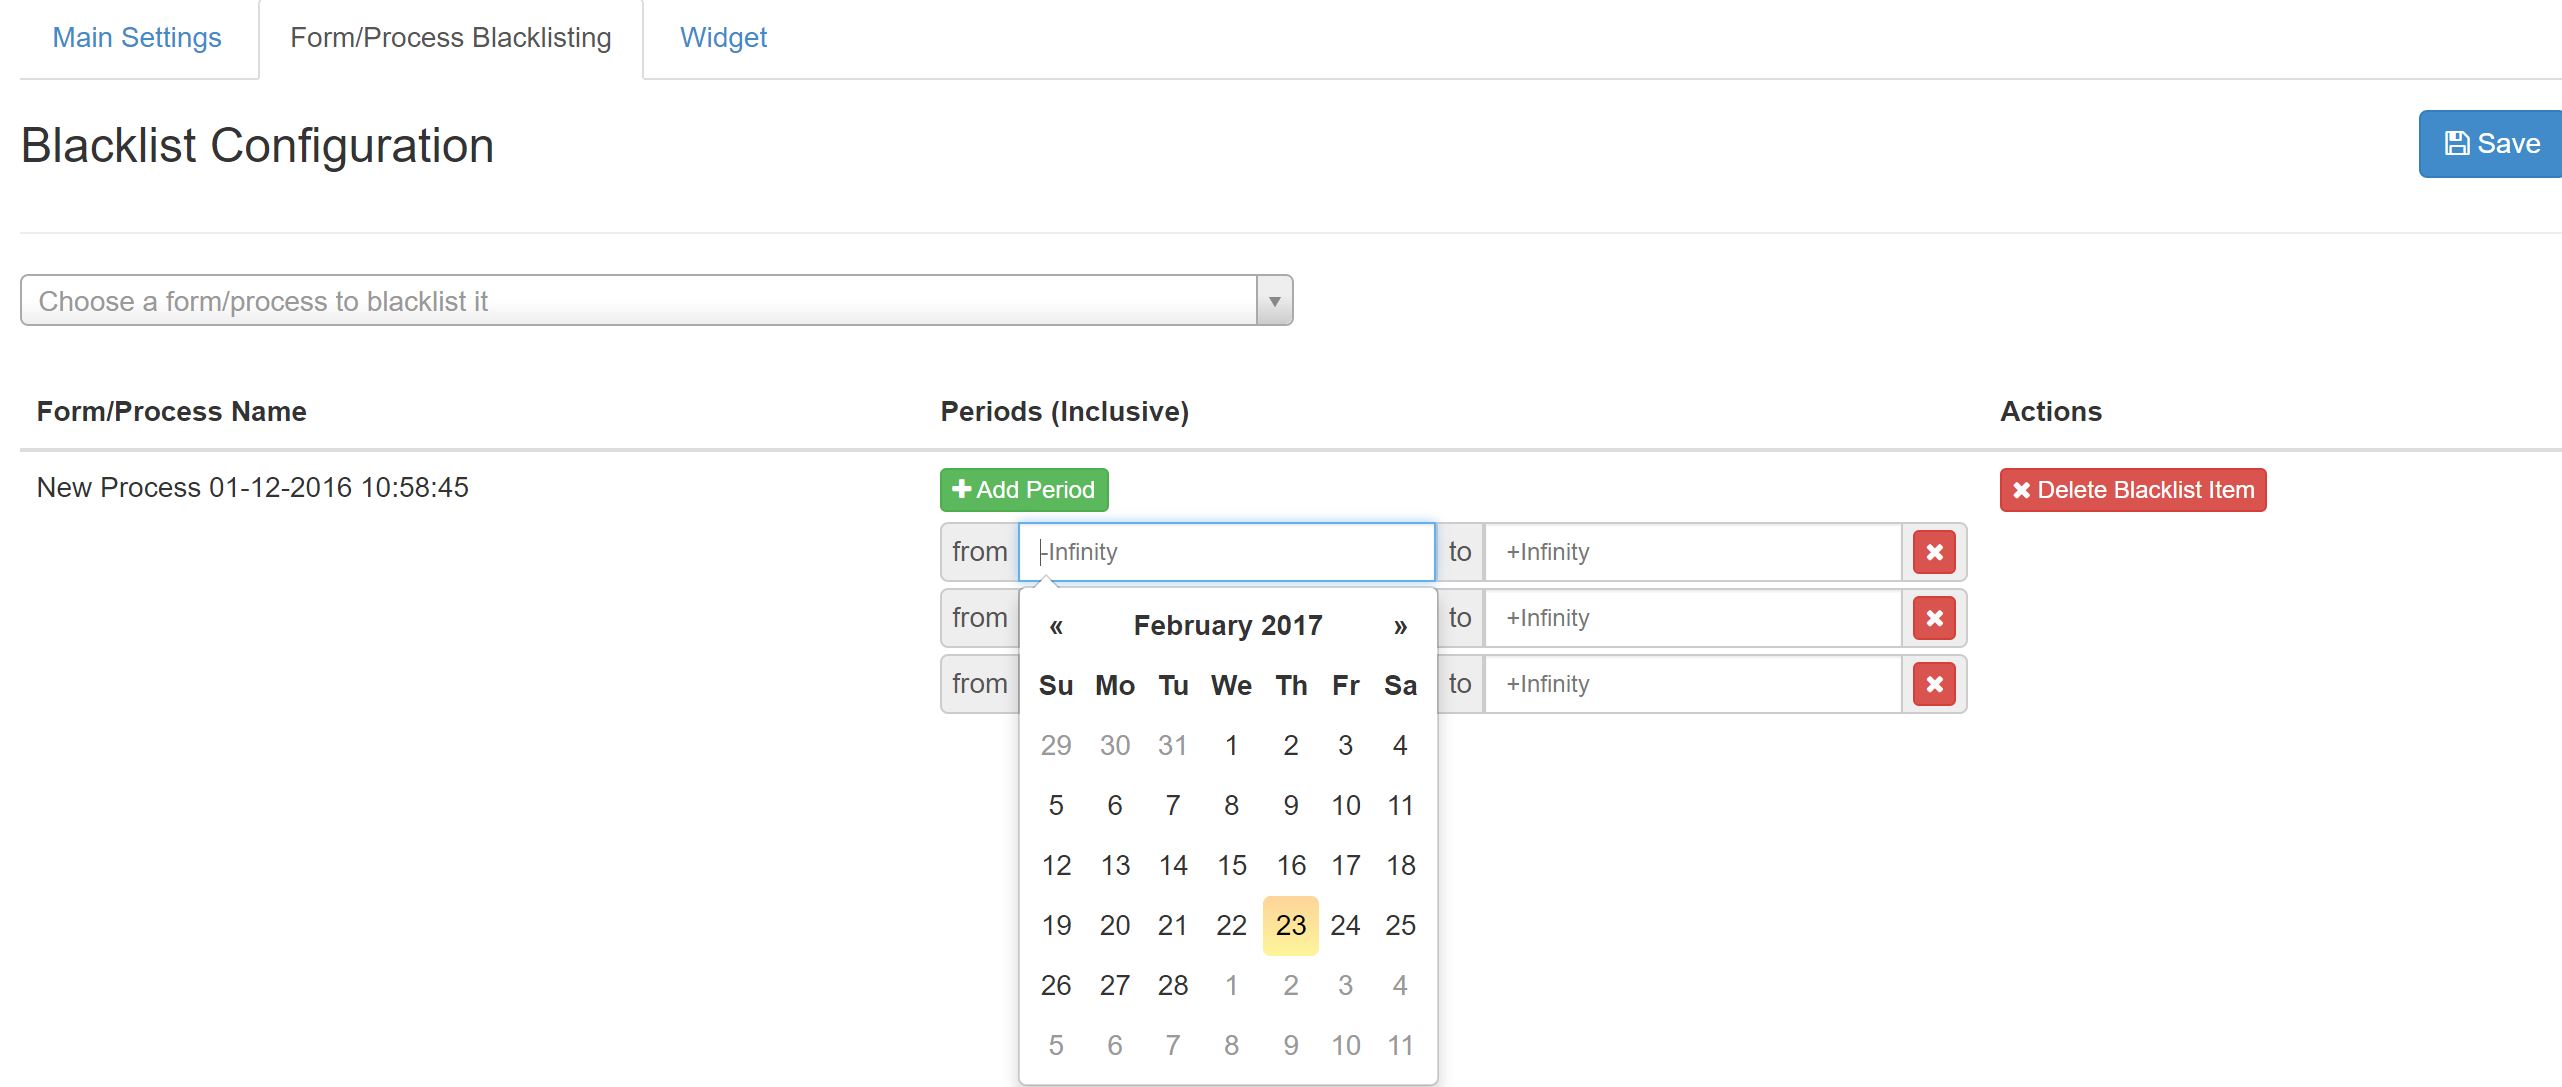
How to configure Forms/Process Blacklisting:
-
Choose the form or process that you want to apply the blacklisting to by clicking on the drop down menu titled ‘Choose a form/process to blacklist it’
-
The default values for this period are -Infinity to Infinity which effectively means the form/process is blacklisted indefinitely. You can alter these values from their default settings to create custom time periods for which the blacklisting should take effect. You can also create multiple periods for a blacklisting should you require them. This means that the dates not included in these periods allows the form or process to be 'whitelisted'.
-
Removing blacklisting periods is easily done by clicking on the red cross on the right side of the period. Click ‘Delete Blacklist Item’ to remove the forms/processes that are currently blacklisted.
Don't forget to Click ‘Save’ when you are finished to apply all changes made.
Widget Configuration
On this page you can choose the number of requests shown in the My Requests widget which can be embedded in the custom homepage content.

top of page
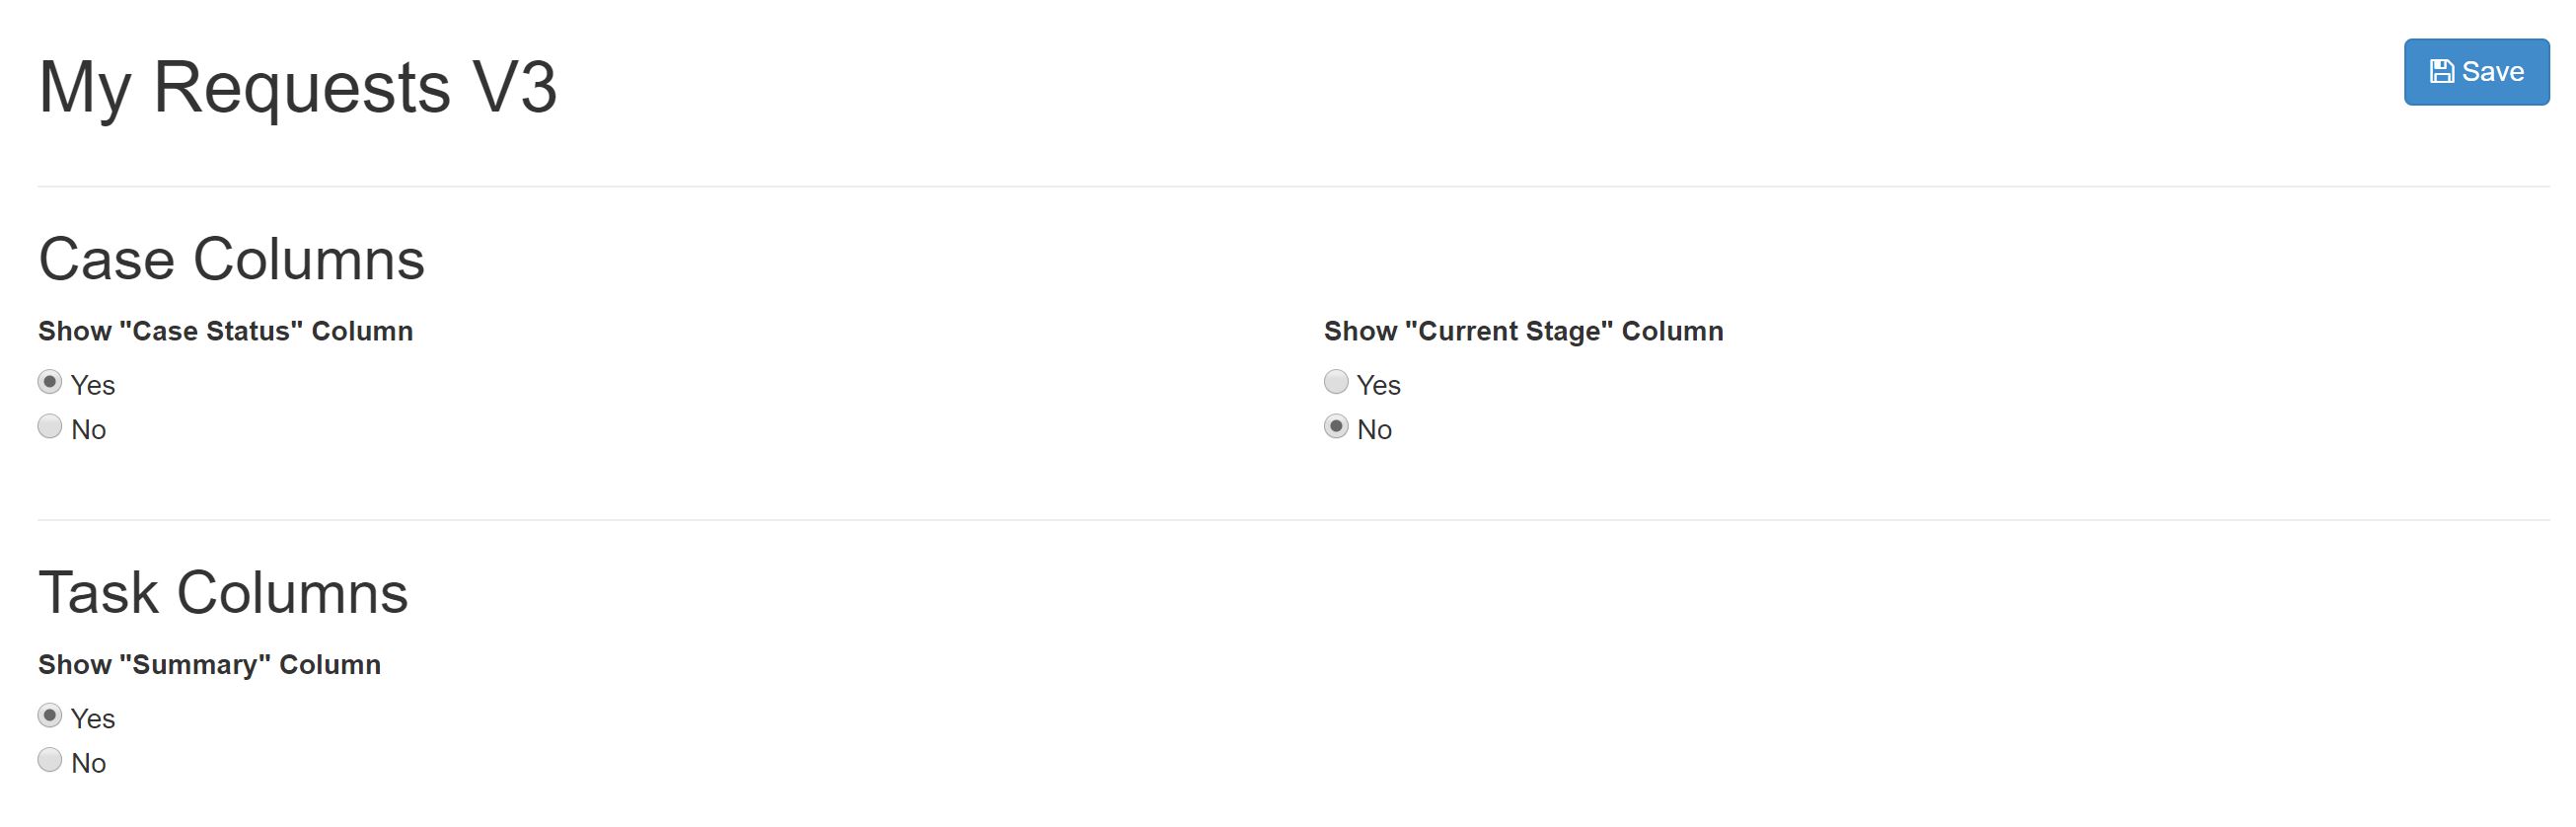
My Request V3
Where the My Request V3 has been installed additional configuration will be available from /admin/self/AppManagement/MyRequestsV3 to control the availability of the following fields:
- Case Columns
- Task Columns
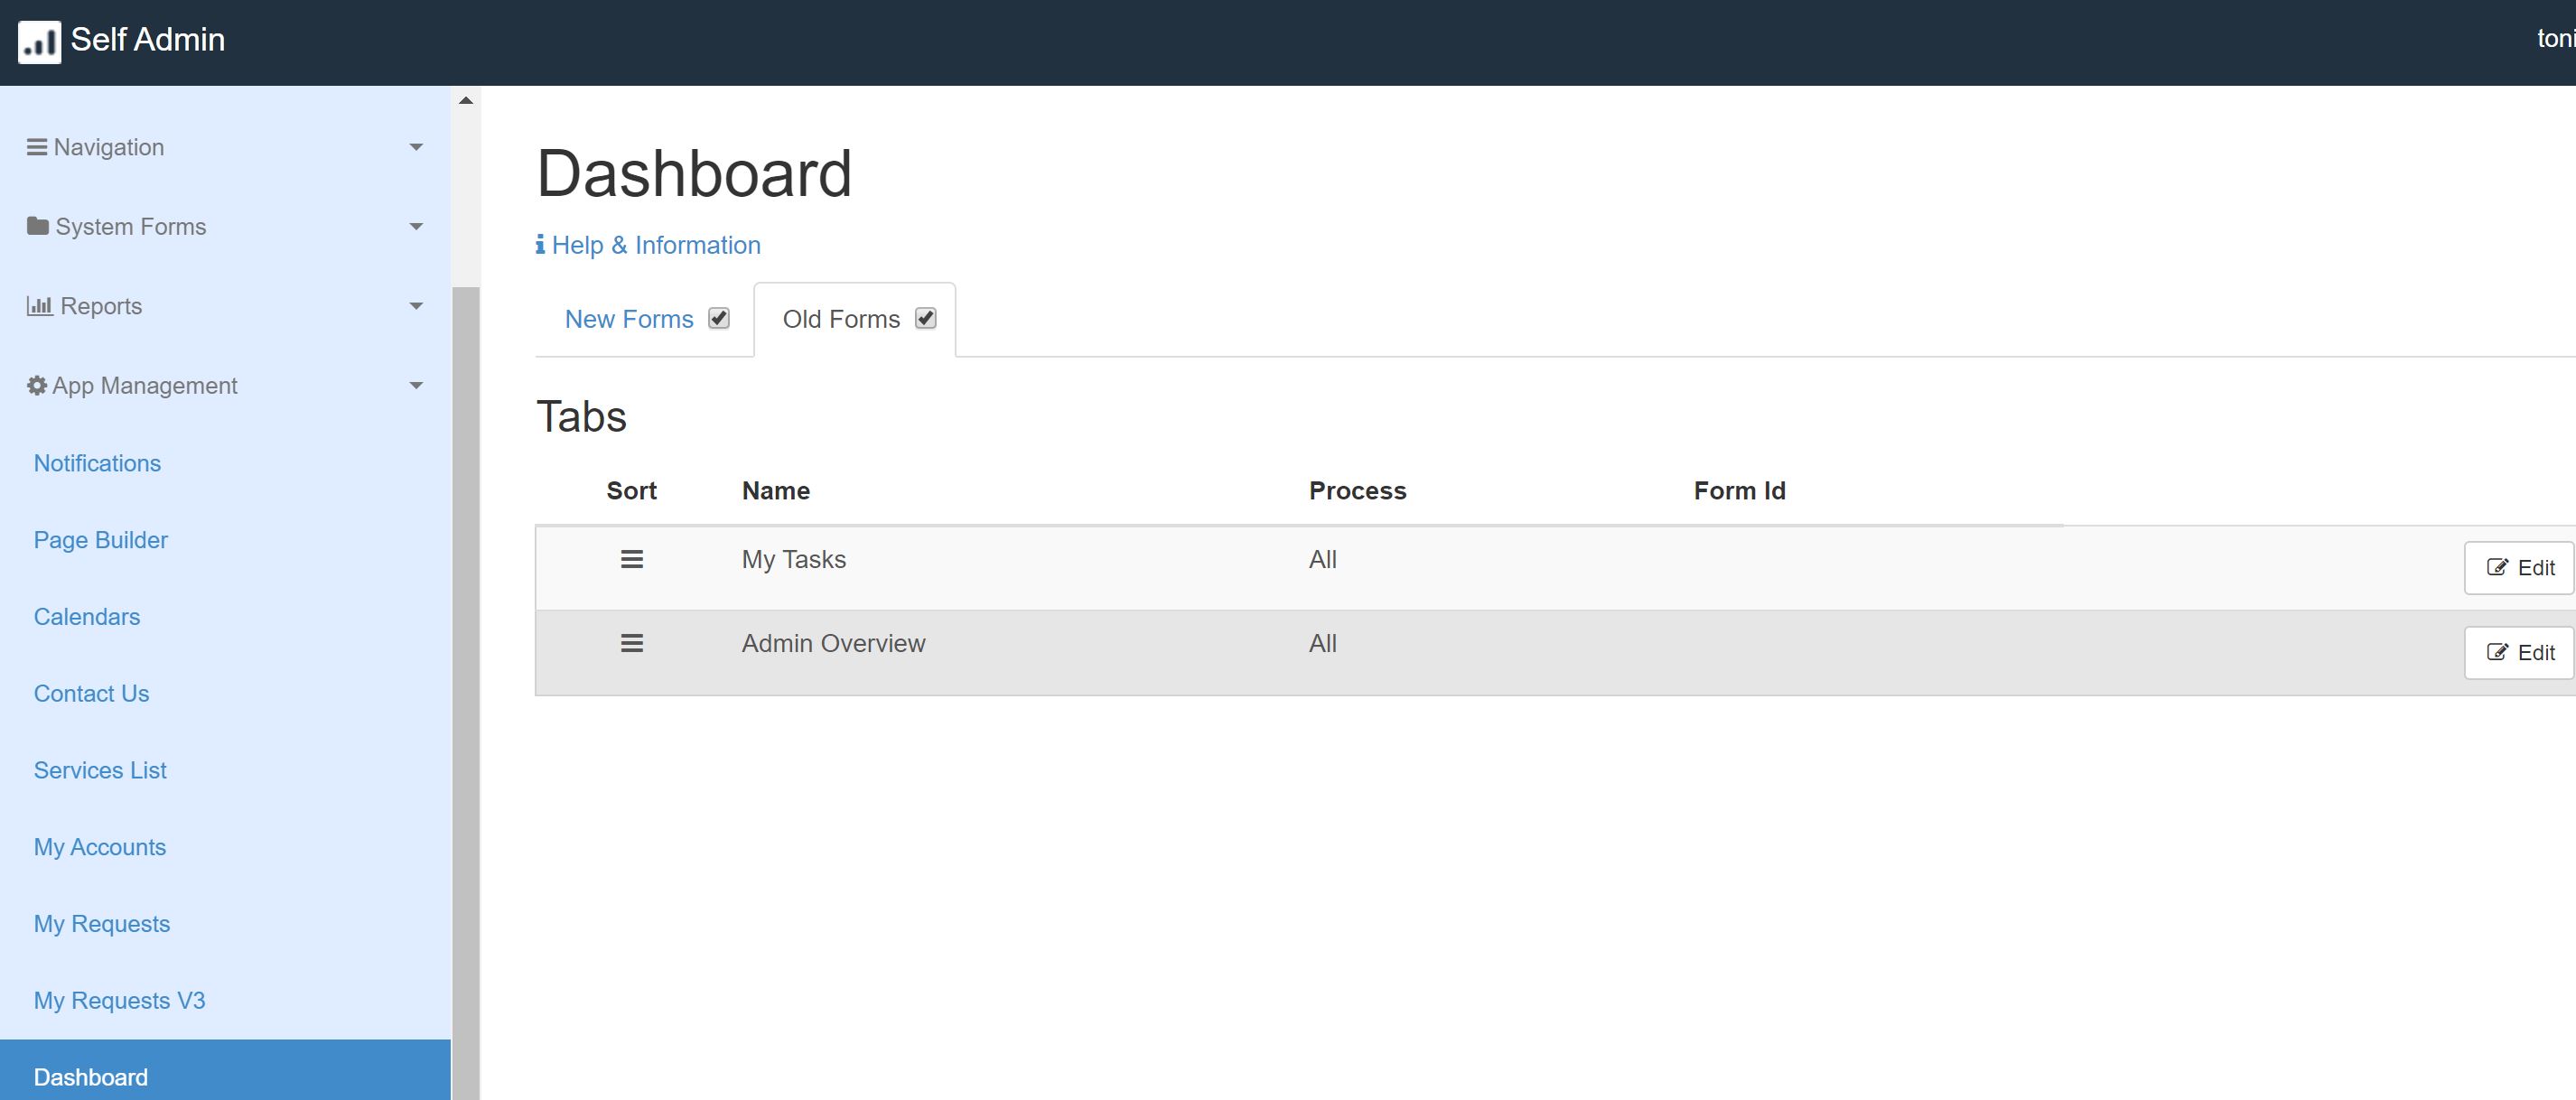
Dashboard
Read more about Dashboard
BEFORE YOU DO ANY WORK please check the product you're altering the settings for (next to the "Dashboard Settings" heading). Currently the settings are stored by domain for Dashboard, please check you are on the correct domain and product.
Enable and disable Forms versions by ticking the checkbox next to the main tabs. At least one of the tabs has to be enabled. If one tab is disabled, the main tabs won't show on Dashboard, they will display only the sub-tabs for the selected Forms version. (This can be used to switch off the Old Forms tab once OAF migration is complete and there is no longer a requirement to view old cases in mDash)
Sorting of the sub-tabs is done by dragging the icon up or down. The position of the tab will be saved immediately after releasing the drag.
Add a new sub-tab by clicking on the green button. Provide details in the popup window.
top of page
FAQs
FAQs can be set up to be listed as separate menu item, or targeted for each form
Common misconceptions
There is also a tab in Self Admin -> Navigation -> App Management. These are different settings, where you can Enable, Add a menu link, Display Anonymous or Require Authentication. More details about these settings can be found at Self Admin - Navigation.

