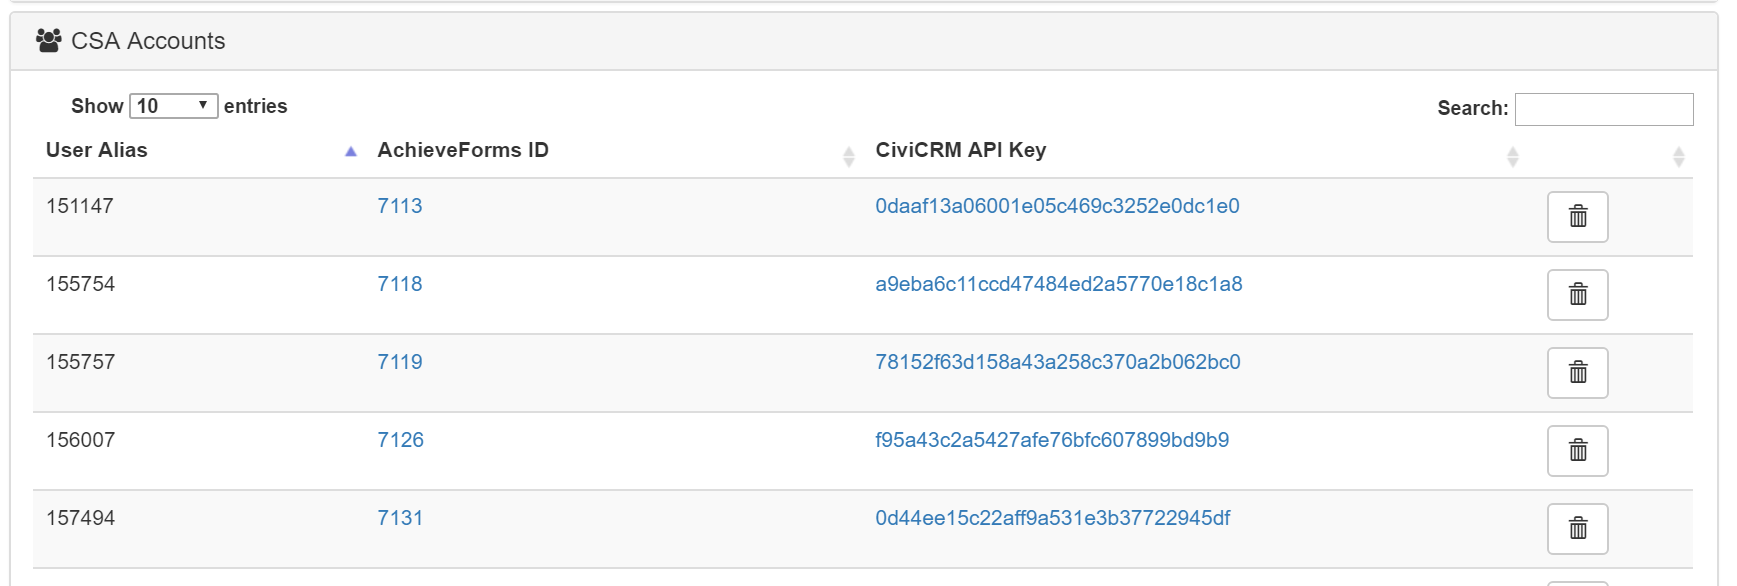
In the area below, CSAs can add various CSA accounts to Customer Service Hub by clicking the ‘Add CSA Account’ button. CSAs can also amend and delete CSA accounts that are already linked to CSH.
Adding CSA Permissions to an Existing Account
If a user already has an account in permissions manager, you will not be able to add CSA permissions. To add CSA permissions, go to Service > Settings > CSA Accounts.
1. Search for the user to ensure that they do not already have a CSA account
2. Select 'Add CSA Account'
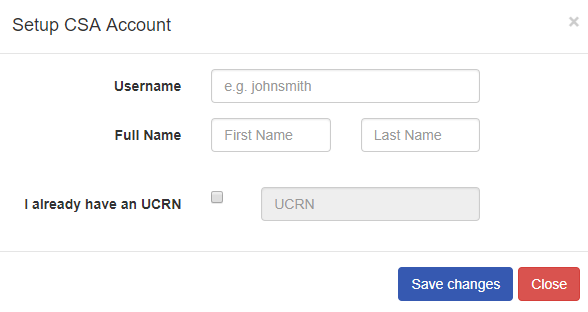
3. Input the username: this can be found by going to Permissions Manager and finding the user. The 'Self User ID' will be the username. This is usually the first and last name.
If the user does not have a Self User ID in permissions manager, you can create it there and then add the Self User ID you have created to the username in CSA Account settings.
4. Find the user's UCRN number from Permissions Manager.
The user should now have CSA permissions in Service. They will need to log out and back in again in order for these permissions to display.
Automatic granting of CSA permissions to existing accounts
We have implemented a streamlined way of granting CSA permissions to internal users. This can be done as follows:
-
the customer can make a group in the Active Directory with the name FS-Integrated-CSA-Users, and add users to that group
-
If any of those users then log into Service, they are automatically also added to the CSA group and thus obtain CSA permissions.
top of page

