Roll Call, Motions, Notes, and Votes
Taking Roll Call
Complete the following steps from the Events > Agenda subtab:
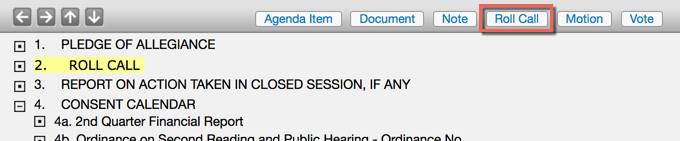
- Select the agenda item on which you wish to record the roll call. In this example, Roll Call has its own named agenda item.
- Click the Roll Call button found above the agenda.
 Roll Call button
- Enter an attendee name in the Add Attendee field. As you type, names in the system will populate a drop-down list. Once you've typed or selected the name, click Add.
-
Note: Select Absent or Excused from the Status menu for any members who are not present for the meeting.
-
Deselect the Voting checkbox for any non-voting members. The checkbox is selected by default.
-
Use the up and down arrows to rearrange the order of attendees.
-
Scroll up and click Save Changes when you are finished taking roll call.
Adding a Note to an Agenda
Complete the following steps from the Events > Agenda subtab:
-
Select the agenda item to which you want to attach a note. The item will become highlighted once selected.
- Click the Note button.
-
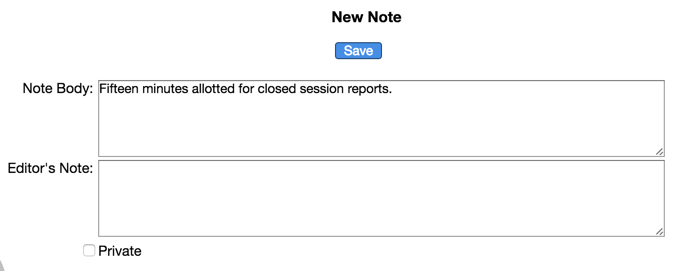
Enter text in the Note Body field.
-
Enter an Editor's Note if you want to enter a note that is visible only to MediaManager users.
-
Select the Private checkbox if you want to make your note visible only to yourself.
-
Click Save.
If your note was attached successfully, you'll see the note beneath the agenda item along with yellow note icon.
Adding a Motion to an Agenda
Complete the following steps from the Events > Agenda subtab:
-
Select the agenda item on which you'd like to add a motion. The item will become highlighted once selected.
- Click Motion.
-
Select the Mover, Seconder (if required), and Action from the respective drop-down menus.
-
Enter text in the Motion Text field.
- Click Save.
If the motion was successfully added to the agenda, it will display beneath the agenda item along with the motion icon.
Taking a Vote
Complete the following steps from the Events > Agenda subtab:
-
Select the motion on which you want to record a vote. The motion will become highlighted once selected. You must take a motion before recording a vote; you cannot record a vote on an item that has no motion recorded.
- Click Vote.
-
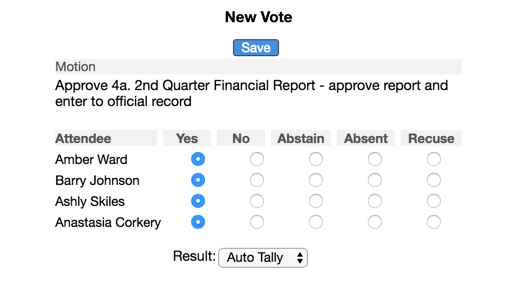
Select the Yes, No, Abstain, Absent, or Recuse radio buttons as each attendee casts his or her vote.
-
Select the Result of the vote from the drop-down menu:
-
Auto Tally - Automatically tallies your votes and passes on a majority
-
Adopted - Use this for votes requiring super-majority or anything other than a simple majority
-
Declined - Use this if the vote failed by any other means than simple majority
- Click Save.
If the motion was successfully added to the agenda, it will display beneath the agenda item along with the adopted ( ) or declined (
 ) icon. You can change the results of the vote if necessary; the agenda will update once you click Save again.

