Content blocks are used when creating templates and bulletins in the Advanced Bulletin editor. The following types of content blocks are available in both:
Heading
Headers help you organize your bulletin content, labeling different sections. You can hyperlink a heading to an external webpage. When editing a bulletin, you cannot change the font, size, or color of a heading; heading styles are determined by your template. If you want to add a heading where you can control the style, use a text content block.

Text
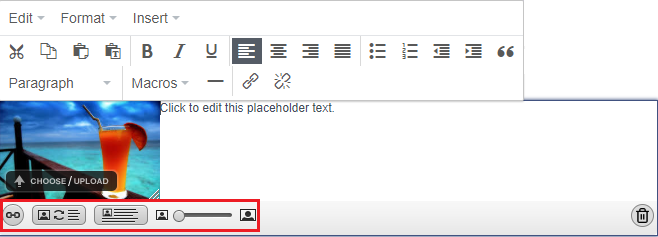
When you are creating a template, text content blocks provide local formatting options, like font face, size, color, text decoration, alignment, etc. When working with a bulletin or a template, you can designate text within this content block type as a heading or subheading. The image below shows the text editor:

Additional text editor features:
In addition to local formatting options, the text editor offers the following:
- Macros: Add Macros to personalize bulletin content. For more information about working with macros, see Using Macros in a Bulletin.
- Links: Click the link icon to add a web link, file, or landing page. Web links include URLs, anchors, and macros. For more information about working with links, see Using Links in a Bulletin.
Note: Previous versions of govDelivery included the option to
Link to Email Address (

) and
Back to Top (

). These same actions can now be completed using the link icon (

) and selecting either the
Link to URL or
Link to File option. See below for the new instructions:
Link to Email Address
- Click the Insert Link icon (
 )
) - Select Web Link tab
- Type mailto: in the URL field and then enter the email address you are linking to
- Click Insert
Back to Top
- Click the Insert Link icon (
 )
) - Select Web Link tab
- Select Anchor from the Type dropdown menu
- Select Top of Page from the Anchor dropdown menu
- Click Insert
Images and Image + Text
The Image content block allows you to add graphics and photos to your bulletins. The Image + text content blocks allows you to incorporate an image into a story or other block of text. The text component and image component of this content block function exactly the same as the text content block and image content block. You also have the option to reverse the image and text. For more information about working with images in an advanced bulletin, see Using Images in an Advanced Bulletin.

Table of Contents
Tables of Contents are created using anchor tags within your bulletin headings to automatically generate a contents list. However, some email clients and mobile devices do not honor anchor tags when they are inserted into emails. While some email clients and mobiles devices will only display certain elements or features of the anchor tag code, others will not allow or display the anchor tag code at all.
Because of this fact, the resulting subscriber experience may vary greatly depending on how or where they access your bulletins. You want your subscribers to have a consistent experience from device to device. Because of this, using a table of contents in your organization’s newsletter with named anchors is not a best practice. Tables of contents are just not an effective method of separating and navigating content within a bulletin.
If you’re creating a bulletin that’s long enough to feel like it might need a table of contents, consider condensing your content. A better subscriber experience is sending shorter and more specific bulletins on a slightly more frequent basis, or sending a shortened version of your content and directing subscribers to permanent web properties, like your organization’s website.
If your organization still requires the use of a table of contents and anchor tags in your bulletins, you must request that table of content functionality be enabled for your account. Talk to your account administrator about this requirement and submit a request to our Customer Support team by clicking the 'Contact Support' button on the right side of this page.
To construct a table of contents:
- Select the anchor option in the Headings content blocks throughout your template or bulletin that should appear in your Contents list.
- Drag and drop the Table of Contents content block into your template or bulletin.
Section Divider
The Section divider content is a horizontal line with padding on both top and bottom of it. Use this content block to create a visual distinction between sections of your bulletin. To change the padding of the section divider or to use an alternative image for the section divider, see Themes.
Buttons
The Buttons content block allows you to add Call to Action buttons directly to your bulletin that can be linked to URLs, Landing Pages, or files. Note: Button appearance (color and styling) must be set at the template level. Learn more about creating and using Buttons.
Editing Sections
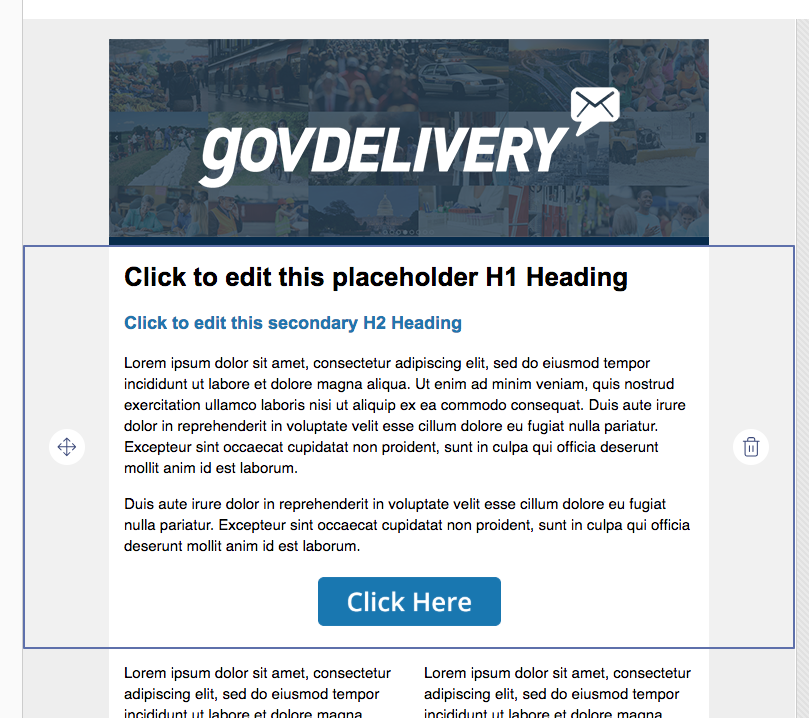
If your bulletin was made with a Flexible Template, the sections will have additional icons displaying whether that section is locked or unlocked. If a section is unlocked for editing, you can move or delete that entire section.
Section editing icons explained:
 If the section displays the locked icon on the right side, it cannot be moved or deleted.
 To move a section, click the move icon on the left side and drag the section to a new location.
 Click the trash can icon on the right side to delete the section. A pop-up window will appear to confirm you actually do want to delete the section before it is deleted.


