Adding Minutes Lines
There are multiple ways to add new lines to the minutes document.
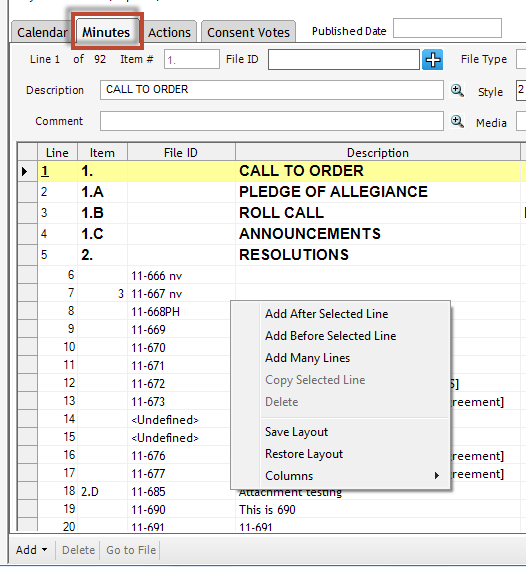
- Right-click any line from the minutes tab of the minutes document. Alternatively, you can click the Add menu at the bottom of the screen.
- Select one of the following:
- Select Add after Selected Line to place the new line after the existing line.
- Select Add before Selected Line to place the new line before the existing line.
- Select Add Many Lines to enter more than one line after the existing line.
- Hold down Ctrl and select Legislative Files from the multiple file menu.
- Click the larger arrow to move the files into the minutes.
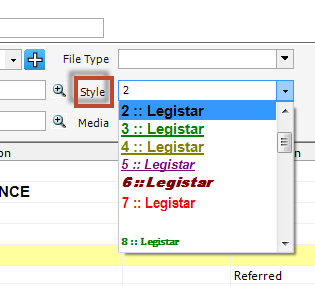
- Select a style from the Style dropdown menu if the line is a header. Each style has different font attributes.
Header List - Contains all of the headers available to add to your agenda during generation. Examples of use include adding a header for last minute legislative files and defining headers for new agendas and special meetings.
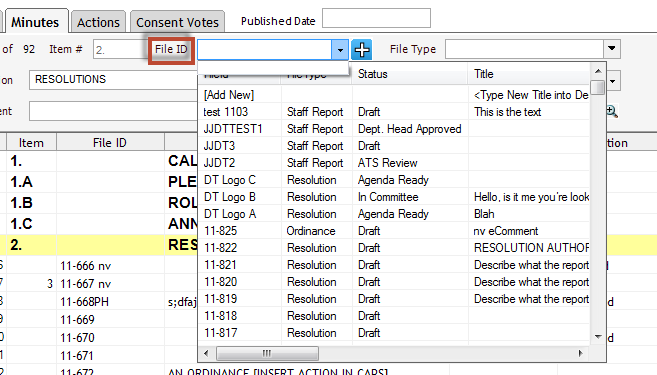
- Select the File ID from the File ID drop-down menu if the line is a minute item.
- Click Save.
Copying Minutes Lines
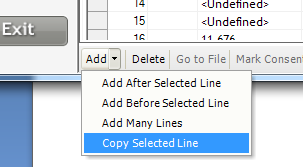
- Select the minutes line you want to copy.
- Click the Add drop-down menu > select Copy Selected Line.
- Confirm the line is added to the agenda form below the original line.
- Click Save.
Deleting Minutes Lines
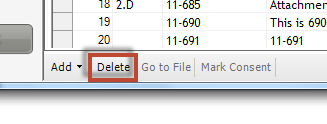
- Select the minutes line you wish to delete.
- Click Delete. You can also right-click the minutes line and select Delete from the context menu.
- Click Yes at the confirmation prompt.


