Peak allows for multiple agenda item templates customized to a jurisdiction's needs. Admins will create and name the templates, choose which standard fields should be required, and add custom fields as needed.
To work with an agenda item template, click Admin in the upper right-hand corner of the Peak dashboard. Choose Agenda Items from the menu on the left, then select Item Template. Note: Only users with the Peak Admin role (or a platform administrator) will have access to the Admin portion of the application. If a single starting template does not already display, click Create Template to create an active, default template. You may then create additional item templates with variations of requiring values upon creation for the standard set of fields plus any number of additional custom item fields. Edit item templates using the pencil icon, and delete using the trash can. Note that only item templates that have no data in them (they are not used on any items) can be deleted. To create additional templates, click Create Template.

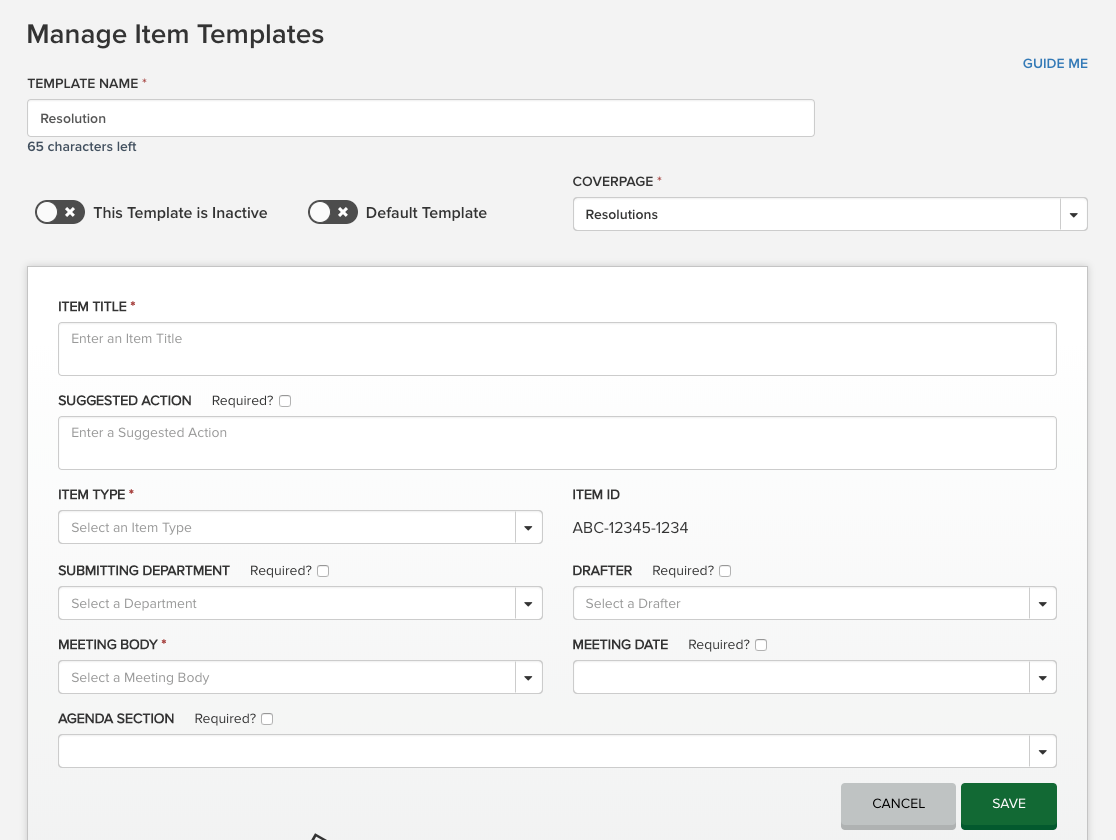
Give the template a name. Then use the toggles to indicate whether the template is active and whether it should be the default.
- Only templates designated as Active will display in the Create New > Agenda Item drop-down list for drafters.
- The default template will display at the top of the drop-down list and will be applied to any items created from the agenda. Even if the default template has custom fields, those fields will not be visible on the Add Item > Create New form. Instead, the user who created the item will need to edit the item from the agenda or the ITEMS page and edit the custom field values if they are desired. Note: the creation of a new item from the agenda is not blocked if the default item template has required custom fields. The user must edit the item separately to add values for those fields on the item details page.
You'll also see a Coverpage drop-down menu; use this to select which coverpage will be applied to all items created using this template. (Contact Granicus Customer Care to inquire about adding additional coverpage templates.)
Select which of the standard fields should be required by selecting the checkbox next to the field's name. Save the template using the green Save button.
Use the Required checkbox where available to make a field required, i.e., a user must fill it out in order to save an agenda item. You can make the following fields required: Suggested Action, Submitting Department, Drafter, Meeting Date, and Agenda Section. The other fields (Item Title, Item Type, Meeting Body) are already required by the system; this cannot be changed.
Be sure to click the green Save button after you've made any changes to which fields are required. Once you save, you can add custom fields as needed using the Add Field button. Custom fields can be removed from an agenda item template only if no agenda item ever used the custom field.
Custom Fields
The custom fields to add to agenda item templates are controlled from the Item Fields page in Admin, also found under the Agenda Items section in the left menu. The page will display a list of existing custom fields. Once a field is saved on the Item Fields page, it will be available in the Add Field drop-down menu for all item templates.
Click the green Add Field button to create a custom field:

As you fill in this form, the elements will show up in the Preview on the left half of the screen.
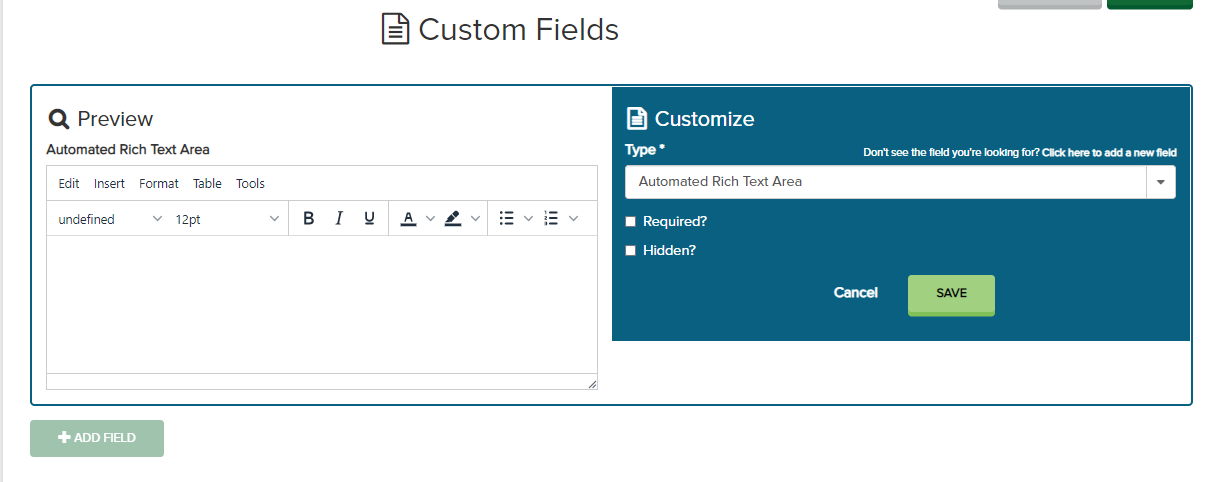
1. Choose a type from the Type drop-down menu. The available types are described in the table below.
2. Type a label in the Label field. This text will display above the control and will prompt the user's action.
3. Type placeholder text in the Placeholder field. This is the text that will display in gray in the template's field until it has been filled out. The Preview field on the left shows the appearance of your custom field.
4. Select whether the field will be required on the agenda template. If this is a required field, click the Required checkbox. A red asterisk appears next to a mandatory field or radio button.
5. Click Save.
Note: Do not enter any text in the Name field. This will auto-populate based on the Label give to the field.
The table below shows the different types of fields you can create using the Type drop-down menu.
| Custom Field Type | Description |
|
|
|
|
Date Picker
|
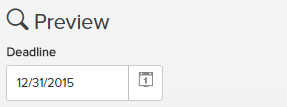
This date field allows a calendar selection so you can track dates:
|
|
Meeting Body Combo Box
|
This option provides a drop-down selection of existing meeting bodies already set up in Peak. See Managing Meeting Bodies to add additional meeting bodies.

|
|
Department Dropdown
|
This provides a drop-down selection of existing departments already set up in Peak. See Managing Departments to add additional departments.

|
| People Dropdown |
Provides a drop-down selection of people in your system. See Managing People to add people and Peak users.

|
|
Radio (Yes/No)
|
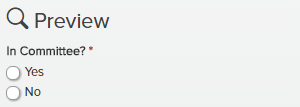
This provides a Yes/No selection option. Please note the radio button becomes a required field on the template by default. Required fields are denoted by the red asterisk.
|
| Text Area |
This option provides a multi-line plain text field that supports entries of up to 65,535 characters.
Note: White spacing and indents are not supported in this field. While it will display during editing, this formatting will not be retained once viewed in read-only mode or published.

|
| Custom Dropdown |
This options gives you a drop-down menu that allows you to define what the menu options are. When you select Custom Dropdown, you can add the menu options using the Option 1 field. Click Add Another Option to create additional menu selections. Each menu option can contain up to 1,000 characters.
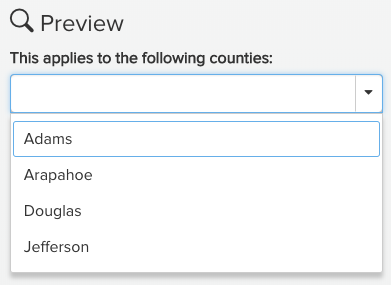
|
Your fields show in a list beneath the Custom Fields heading.
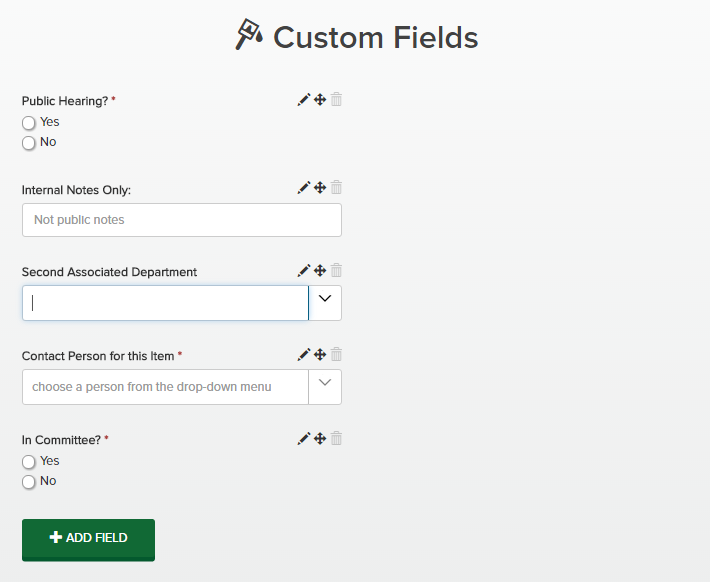
You can now edit, delete, or rearrange the order of the fields. Use the pencil icon to edit, the trash can icon to delete, and to reorder the fields, click and hold the handles  and drag the item to a new location in the list of fields. The new order will automatically save. Please note that any custom fields cannot be deleted once they have data entered on any agenda item. You can, however, hide custom fields on those items where they have not yet been populated with data and on any new item created.
To change the visibility or required attribute of a custom field, click the pencil icon to edit the field. Then select or unselect the Hidden? or Required? checkbox on the bottom of the right side of the modal.
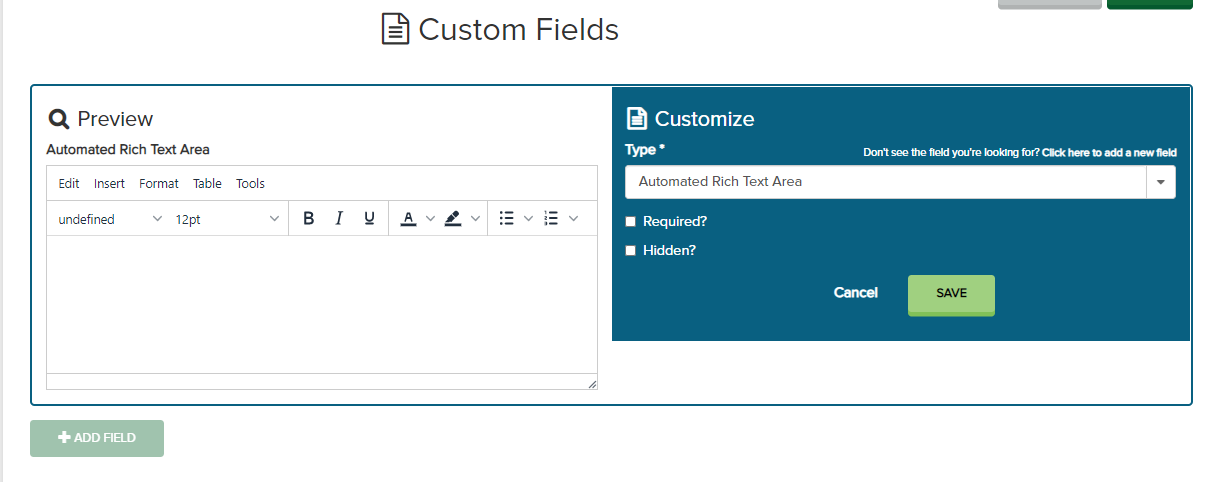
Click the green Save button to save any edits you've made to the custom field.
Note: Custom fields set up here can be published to agenda reports and packets. Once you've created the desired custom fields, you can make a request with Customer Care for these fields to show up under the related item on the agenda report. A field will display only if there's data entered in it for a given agenda item. If you create additional fields after your request has been processed, you'll need to make an additional request from Customer Support to include the new custom fields on your reports.


